Examining surfaces before painting is a vital step in getting quality results. Some surfaces will require less work than others so how do you know what work your surface needs before painting? Let us examine the most important things to do before opening up that paint can
1). Deep Clean All Walls Before Painting
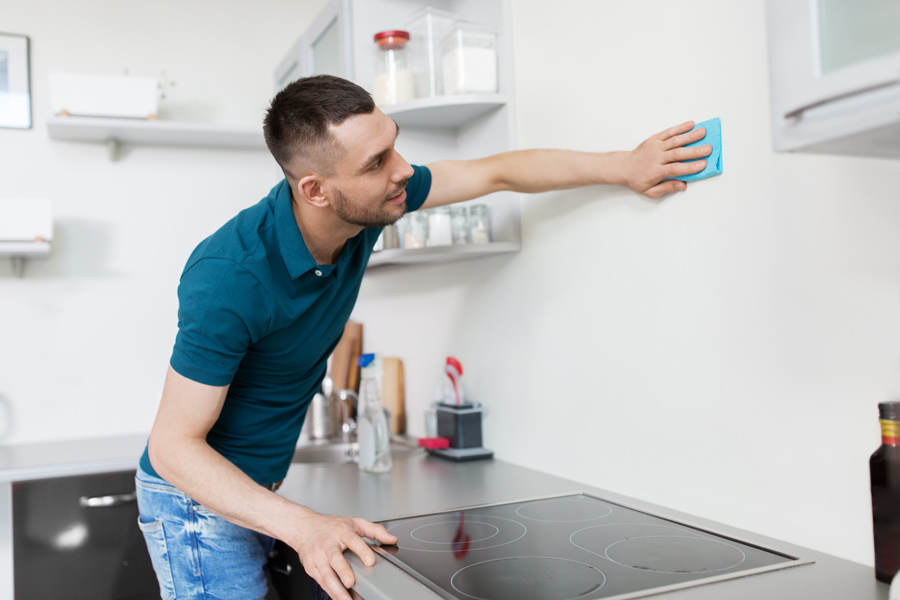
The first step to preparing walls for painting is to deep clean them. It is important to make sure that you remove dust, dirt, and debris from all corners and crevices. Otherwise, the dirt could mess up the paint job. First, you should dust the walls so that you do not end up with streaked walls. Next, use a sponge, mild soap, and warm water to remove what is left. If the wall has been exposed to oil or grime, like a kitchen or garage, use grease-cutting detergent. After wiping the walls down, make sure they completely dry. You can speed up this process by opening windows and running a fan. Avoid adding primer to moist walls or you could end up with streaks, damage, and blister spots.
2). Be on the Lookout for Mildew
Inspect your walls before you apply primer. After you have cleaned the walls, look for mildew. Mildew will grow through paint, which will damage the walls and mean a repaint is in your future. You can remove mildew by using bleach. The solution should be three parts water and one part bleach. Add the solution to the walls and let it sit before you scrub. You can use a sponge. Make sure to wear goggles and gloves and to thoroughly rinse the solution with water. Again, make sure to let the walls thoroughly dry. There are also certain primers that are designed to cover and stop the growth of mildew.
3). Sand Uneven Spots Before Painting
You will not have to sand all walls before priming and painting. However, if there are any rough spots, it is wise to sand them down so the paint goes on smoothly. Sandpaper is great for minor spots. You can also use a sanding block to dull spots. Make sure to wipe away any of the dust with a damp cloth and allow it to dry. Sanding is especially important if you plan to use gloss paint.
4). Flaking Paint
If you paint over flaking paint, it will make the walls look uneven. A scraper or sandpaper can be used to remove flakes. Run your hand over the walls to ensure all flakes have been removed. Again, use a damp cloth and wipe down the walls to ensure debris has been removed.
5). Fix any Holes
Holes are common. They are caused by nails, pushpins, and normal wear and tear. Invest in caulk or spackling to fill those imperfections. You can apply the compound with a putty knife. Make sure to let the material dry thoroughly. You can sand down any excess spackling afterward and then wipe down and allow to dry.
6). Priming
After you have prepped the walls, do not immediately add paint. First, you need to use a primer. This is especially important if the walls are porous or if there are any markings. Primers also make sure the paint job lasts longer and enhances the color. A high-quality primer also ensures the paint goes on smoothly and evenly. If the wall is especially porous, you may want to add two coats of primer.
Painting over wallpaper is not recommended, especially when it comes to wallpaper with lots of texture or high sheen. No matter how quality the paint is, the wallpaper seams will show through. And often the wallpaper will bubble under the paint. Removing wallpaper can be a time-consuming and challenging task so it is a good idea to hire a professional painter to make sure your walls are clear of all wallpaper residue and assure you receive the stunning results you desire.
By My Painter 4-22-2021
Recent:
Categories
Archive
Apr 2024
Mar 2024
Feb 2024
Jan 2024
Dec 2023
Nov 2023
Oct 2023
Sep 2023
Aug 2023
Jul 2023
Mar 2022
Feb 2022
Jan 2022
Dec 2021
Nov 2021
Oct 2021
Sep 2021
Aug 2021
Jul 2021
Jun 2021
May 2021
Apr 2021
Mar 2021
Feb 2021
Jan 2021
Dec 2020
Nov 2020
Oct 2020
Sep 2020
Aug 2020
Jul 2020
Jun 2020
May 2020
Apr 2020
Mar 2020
Feb 2020
Jan 2020
Dec 2019
Nov 2019
Aug 2019
Jul 2019
Apr 2019